If you’re looking for a simple and affordable way to update your kitchen, painting your wooden cabinets can be a great solution. In this blog post, we’ll share our experience and some tips for painting wooden cabinets, so you can achieve the same transformation in your own kitchen.

Tools Needed
- 3 Inch Kitchen Cabinet Handles Matte Black – I like using door handles on drawers
- Kitchen Cabinet Knobs – I like using knobs for doors
- KILZ Low-Odor Oil-Based Interior Primer, Sealer, and Stain Blocker
- B-I-N Shellac-Based White Interior Primer and Sealer (Alternate Primer)
- BEHR Cabinet, Door & Trim Enamel
- 4 in.x 1/4 in.Shed Resistant White Woven Mini Paint Roller
- Mini Roller Tray
- DAP Plastic Wood Filler
- Amerock 1/4″ Overlay Door Hinges
- ScotchBlue 4 ft. x 90 ft. Clear Pre-Taped Painter’s Plastic Sheeting
- Ryobi 18V Cordless Corner Cat Finish Sander
- DAP White Premium Molding and Trim Sealant
Our Kitchen Cabinets
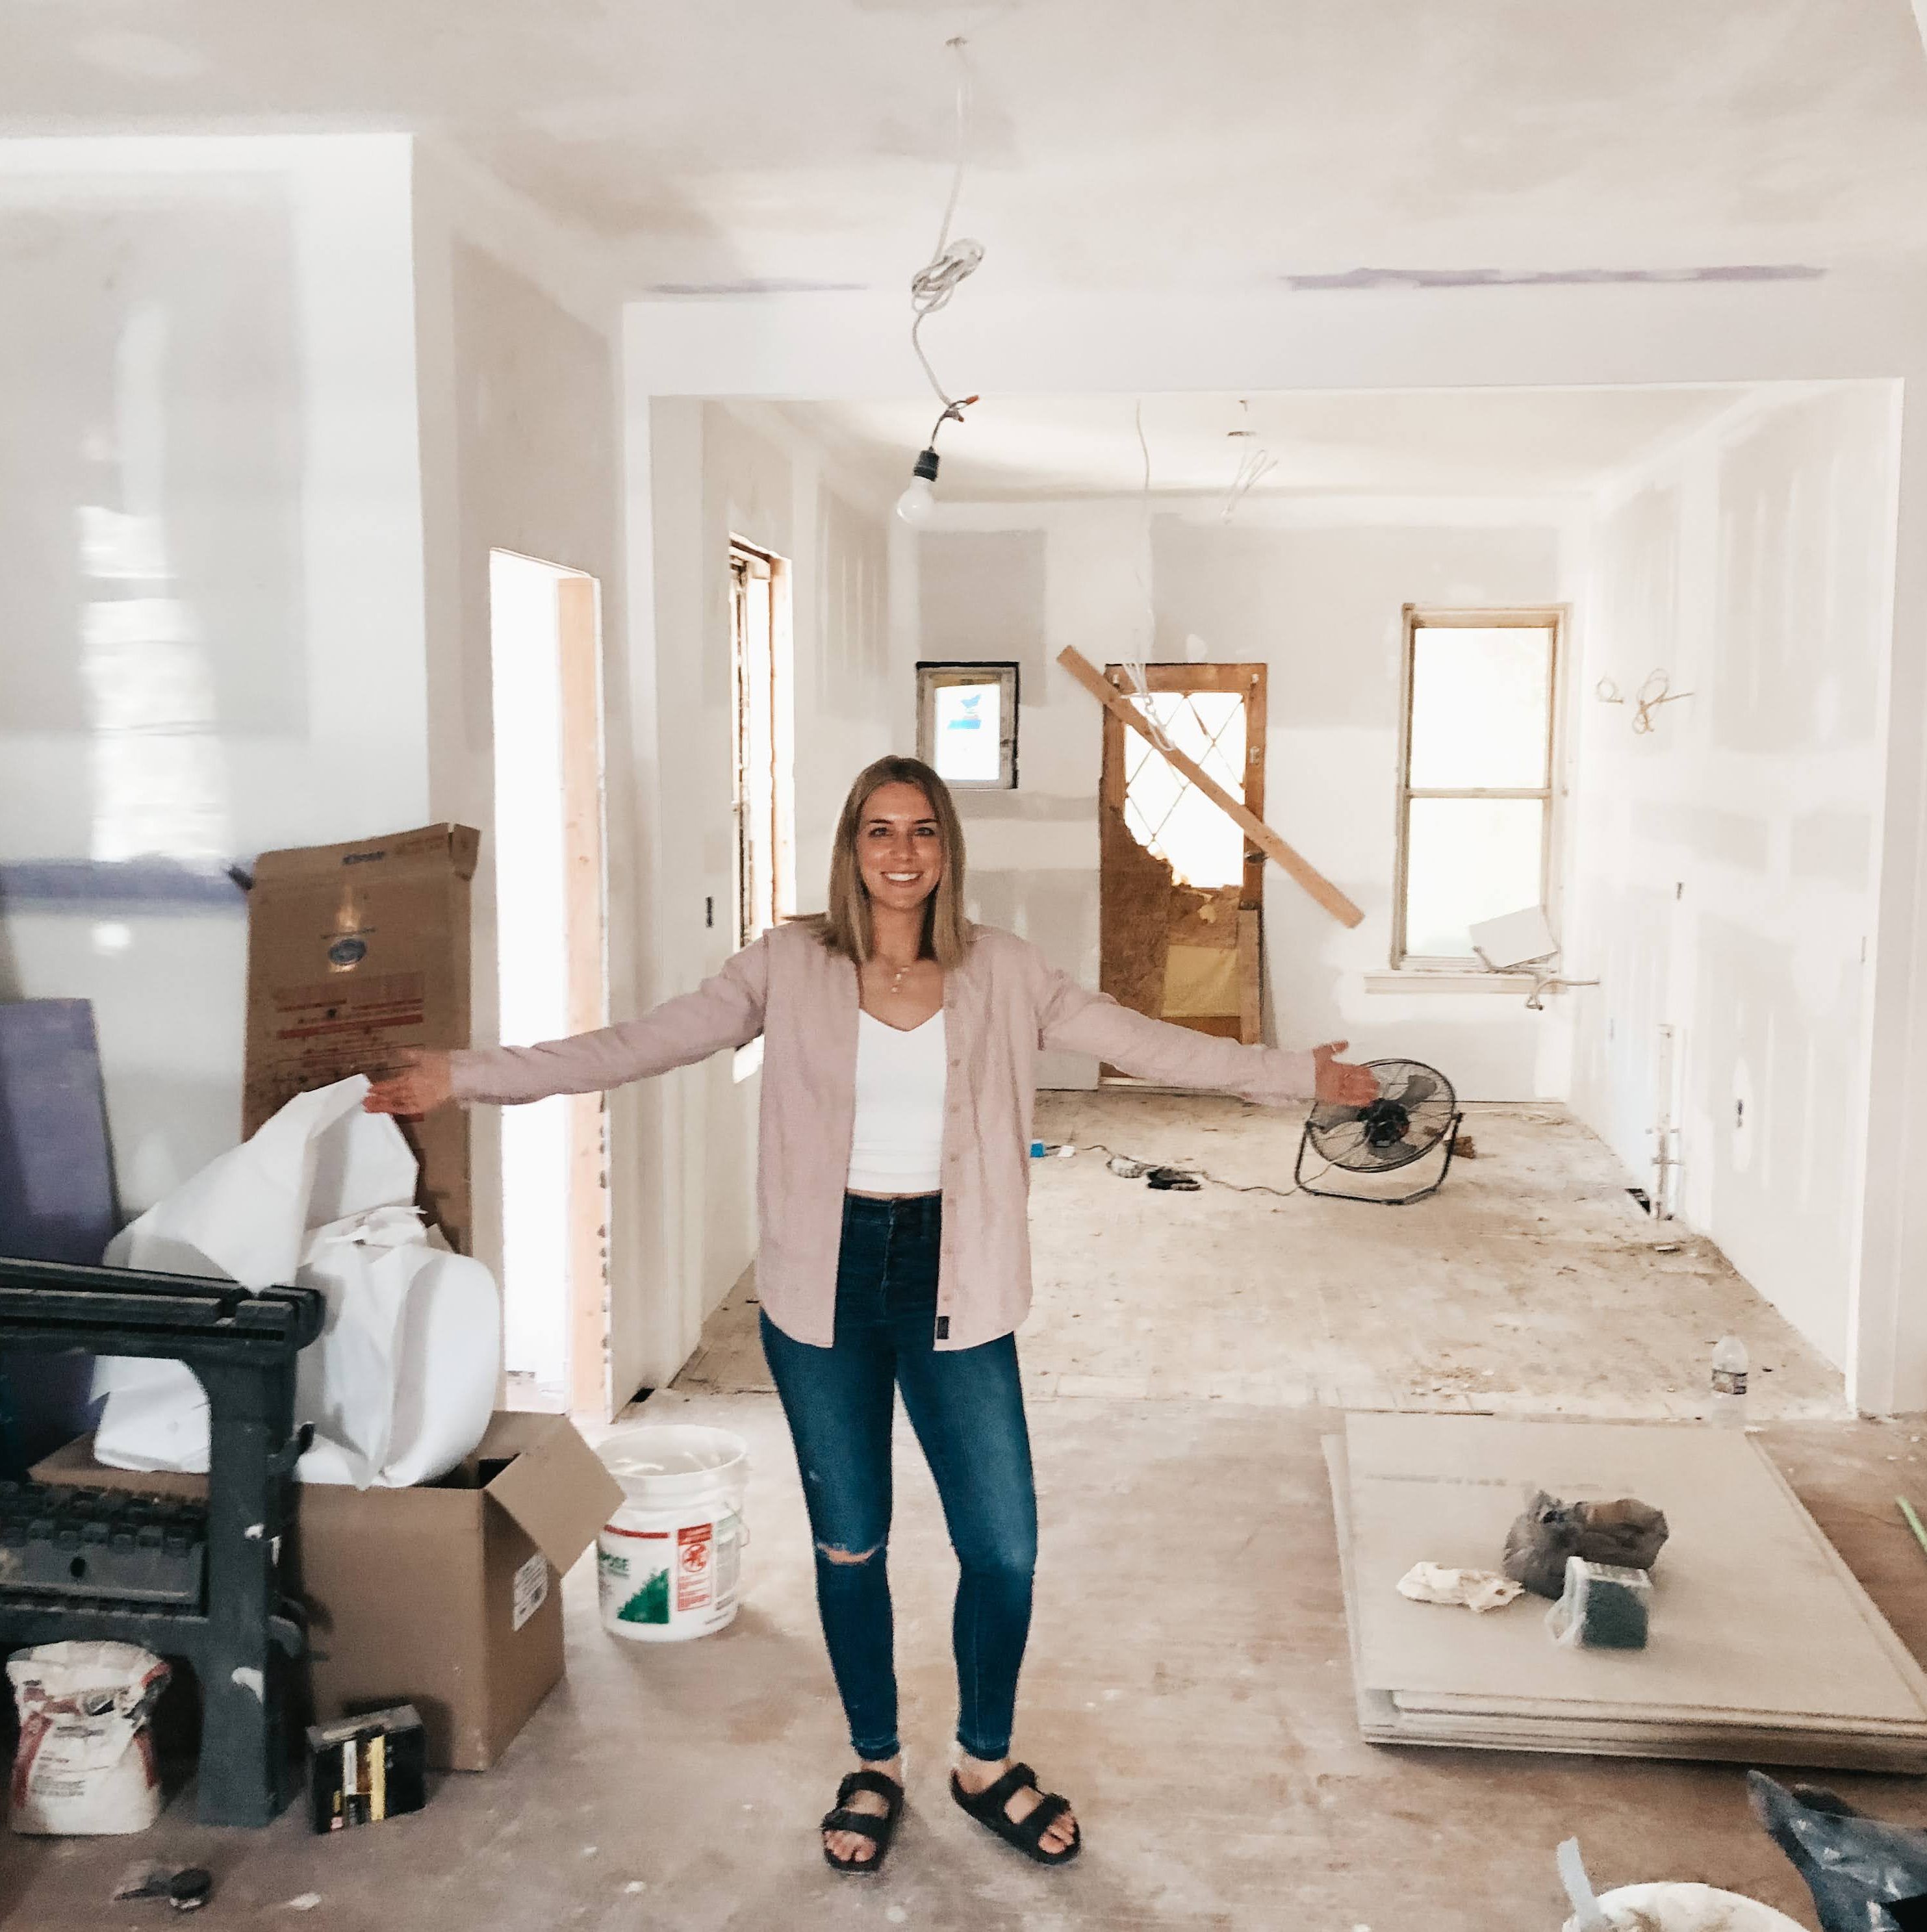
When we bought our home last year, we had always planned to renovate the kitchen with brand new cabinets, flooring, rearranging windows/doors, lighting, and a pantry. However, since the existing cabinets were solid wood with vintage tongue and groove bead-board panel doors and in good condition, we decided to prioritize other renovation projects. The dark wood cabinets made the kitchen feel dark and heavy, so we opted to paint them as a quick and budget-friendly update.


Inspiration
Given that our kitchen doesn’t receive a lot of natural light, we wanted to choose a lighter color for the cabinets to brighten up the space. We created a Pinterest board to gather kitchen inspiration images, and we were particularly drawn to mushroom-colored cabinets with soapstone countertops or marble. Here’s a link to the board for all my kitchen inspiration images.


Prep Work
Prior to starting the kitchen renovation, we cleaned the cabinets thoroughly with TSP (Trisodium Phosphate) to remove any grease or dirt. cleaned all the cabinets very good with when we first moved in.
To ensure a high-quality finish, I knew that proper preparation was key, thanks to my experience painting kitchen cabinets during my Sydenham Flip project. Those cabinets also started as stained wood and were transformed into a dark green. However, one thing I disliked about the outcome was the visible wood grain through the paint. This time, I aimed to fill in the wood grain to achieve a smoother finish, at least on the exterior cabinet bases.
To begin the prep work, I sanded the outer panels of the upper cabinets to remove the glossy finish and provide a suitable surface for the joint compound. I had two panels on each side of the window and one on the left side above the range. After sanding, I used a tack cloth to remove all the dust.
At this stage, the cabinets may look chaotic, but running your hand over the surface should feel smooth, which is a good sign.

Next, I removed the cabinet doors from the base by unscrewing the hinges. Since we planned to replace all the hinges (as the existing ones were worn), I put them all in a large ziplock bag. If you’re reusing your hinges, try to keep track of which doors they belong to. We also intended to replace all the door handles, so those went into another ziplock bag.

For the cabinet doors, I used an 80-grit sandpaper to scuff the front and back surfaces. This step helps the primer adhere to the doors. I highly recommend using the Ryobi 18V Cordless Corner Cat Finish Sander, as it makes swapping out the sandpaper easy and its pointed tip reaches all the corners effortlessly. The cordless feature eliminates the hassle of cords getting in the way or requiring an extension cord.

Picking A Color
I collected paint swatches from both BEHR and Sherwin Williams color lines to help me choose a color. I particularly liked Sherwin Williams’ larger sticker swatches, which provided a better visualization of the colors. Over a few days and at different times of the day, I took photos and videos of the swatches placed in various areas of the cabinets.
Considering that my kitchen faces Southeast and is shaded by a large tree in the backyard during summer, I wanted to take into account the amount and type of sunlight when selecting a color. To learn more about color and undertones, I read several posts from Kylie M. Interiors, which offered fascinating insights into how colors change throughout the day under different lighting conditions, such as morning and afternoon sunlight.
I had a preference for greige/mushroom colors but realized that my kitchen doesn’t receive ample natural light. With this in mind, I looked for light creamy grays and beiges.

The paint colors I considered were: SW Agreeable Gray, BEHR Aged Beige, BEHR Campfire Ash, BEHR Diamonds Therapy, SW Repose Gray, SW On the Rocks, and BEHR Toasty Gray. After careful consideration, I ultimately chose BEHR Campfire Ash. Although it leans slightly warmer, it appeared to be the perfect light greige in comparison to the other options. Diamonds Therapy was too light, Aged Beige was too warm, Agreeable Gray appeared too dark under afternoon light, On the Rocks had a bluish tone, and Repose Gray was too dark. Interestingly, Campfire Ash and Agreeable Gray looked similar in direct morning light near the window but appeared significantly different in the shadowy light.

Prime
To start the process, I primed the sides and doors using Kilz All Purpose Primer, which I already had on hand. However, I noticed that after the paint dried, the wood’s brown tannins seeped through. To prevent this, it’s necessary to use a shellac or oil-based primer to block the tannins. The ideal primer for this purpose would be Zinser’s BIN Shellac Primer ($74.98 per gallon). However, since I was working within a budget, I opted for the Kilz Low-Odor Stain Blocking Oil Based Primer ($37.98 per gallon). I needed two coats of primer to cover the dark wood.


For the cabinet doors, I used a roller for the surfaces and a small paintbrush to reach the grooves of the tongue and groove beadboard. Later you will see during this phase, I also decided to fill in the joints between the boards with paintable caulk and fill the top handle door hole with wood filler. It’s best to do this before priming.


Painting kitchen cabinets either requires a clever system for hanging the doors up to dry or ample space to lay the doors down individually for drying. Since space was limited in our house, we painted in “phases.” We began by painting the upper left cabinet doors, then the upper right, and finally, all the lower doors. This approach extended the project’s duration, but it was more manageable since we had a comfortable working area. To create a makeshift table for drying the doors, we placed an old door on top of two sawhorses. We painted one side, allowed it to dry, and then flipped the doors over to paint the other side.

I discovered that using a microfiber roller to apply the paint resulted in a more textured surface, while a dense foam roller yielded a smoother finish. To achieve a very smooth end result, it is crucial to sand between coats. For a finer finish, use 120 grit sandpaper. Remember that the higher the grit number, the finer the sandpaper, and the lower the number, the coarser the paper will be.
Paint
For the final paint, we opted for BEHR enamel cabinet and door paint in the color Campfire Ash. This paint takes several days to cure and forms a hard, scratch-resistant surface. Be careful during the first couple of days after painting, as the enamel may chip since it hasn’t fully hardened. We had previously touched up a chip on an outer corner, and now I can’t even tell it was there.
We used a microfiber roller, but you could also use a foam roller or spray with a paint sprayer.


In the image above, you can see that the doors have a noticeable texture up close. This is after the first “phase” where we used the oil primer and a microfiber roller without sanding between coats of paint. You may notice that I haven’t yet realized the need to caulk the seams between the tongue and groove to achieve a more seamless look for the doors.

After completing the first “phase” and round of doors, I decided that going forward, I would caulk and fill the upper door handle hole between coats of primer. As seen in the photo above, the crack between the tongue and groove boards is quite distinct. Additionally, I resolved to sand the bases and doors more thoroughly between layers.


For the subsequent phases, I ended up taping the inside of the cabinets because I opted to sand the bases between coats. To simplify the taping process, I used pre-taped plastic sheeting, which proved to be SO MUCH EASIER. Taping is typically my least favorite task, and I try to avoid it whenever possible. However, in this case, I wanted to prevent any dust from getting inside the cabinets, and the pre-taped plastic sheeting was a game changer. I will definitely be using it in the future.

Installing the Hinges
Finding the appropriate hinges for these doors was quite a challenging process. These door panels have a partial overlay style, meaning the doors overlay on top of the cabinet base. The modern and standard dimensions typically involve a 1/2″ overlay around every side. However, my cabinets have a 1/4″ overlay around each side, making it difficult to find the right size hinges.
The first set I ordered came with an oil coating that ended up leaving a brown residue on the cabinets. I quickly called the supplier to try to figure out how I could salvage the hinges. They recommended I wash the hinges with dawn dish soap and let them dry. Unfortunately, when I did so, the hinges started to rust. It turns out that the oil acts as a protective coating. I got a refund on those and looked for another option.
I found these Amerock brand hinges on Amazon and decided to give them a try. They had a painted finish and were the perfect fit. Installing them was easy, and they closed smoothly. Additionally, they came with small neoprene bumpers to prevent the doors from slamming shut. To ensure consistency, we used a piece of paper as a template to install the hinges at the same height on each door.
Installing the Hardware
The hardware on our existing cabinets were discolored and gunked up with what seems like decades of oil and dirt. We tried cleaning them to try to repurpose but they were beyond restoration. We decided to purchase new handles to modernize the cabinets and give it a fresh new look. I think of the hardware as the jewelry of a room. They have a huge impact on the look despite how small the pieces actually are.
I typically chose knobs for doors and handles for drawers. If you purchase in packs from Amazon the hardware can be very economical. I had to make some modifications to the screws because the standard hardware provided was too short for my specific doors. The packs I purchased came with extra screws that you could cut with wire cutters to size. You can also purchase the correct length screws at your local hardware store.

Conclusion
In the end, I’m beyond thrilled with how our cabinets turned out. It’s been quite a journey, but the results are totally worth it. The color choice of BEHR Campfire Ash in that lovely greige tone gives our kitchen a cozy and inviting feel. Plus, the enamel paint we used ensures durability and resistance to scratches. By the way, if any of you have tackled a similar cabinet painting project, I’d love to hear about it! Drop a comment and share your experiences or any tips and tricks you’ve picked up along the way. And hey, if you found this post inspiring or helpful, feel free to share it on Pinterest!


2 responses to “How to Paint Kitchen Cabinets”
[…] recently painted the kitchen cabinets to brighten up the space and could not be more in love with the outcome. We desperately […]
[…] first was painting all the cabinets and changing out the hardware, which you can read more about in this […]