Open shelving in the kitchen has been on trend for a while now and doesn’t look like its going anywhere. It is a practical way to display decor items or if its in a kitchen, provide easy access to frequently used kitchen essentials. When I remodeled the kitchen in my West Philly renovation, I knew open shelving would be a great way to add warmth, interest, and also help reduce costs.
The kitchen I designed has black base cabinets with white upper cabinets, white quartz countertop and a white backsplash. The warmth of the wood tones in the shelves were a great way to make the kitchen feel cozier and tie it in with the red of the wood tones throughout the house. We ended up staining it a dark walnut which speaks to the stain on the original stair railings.
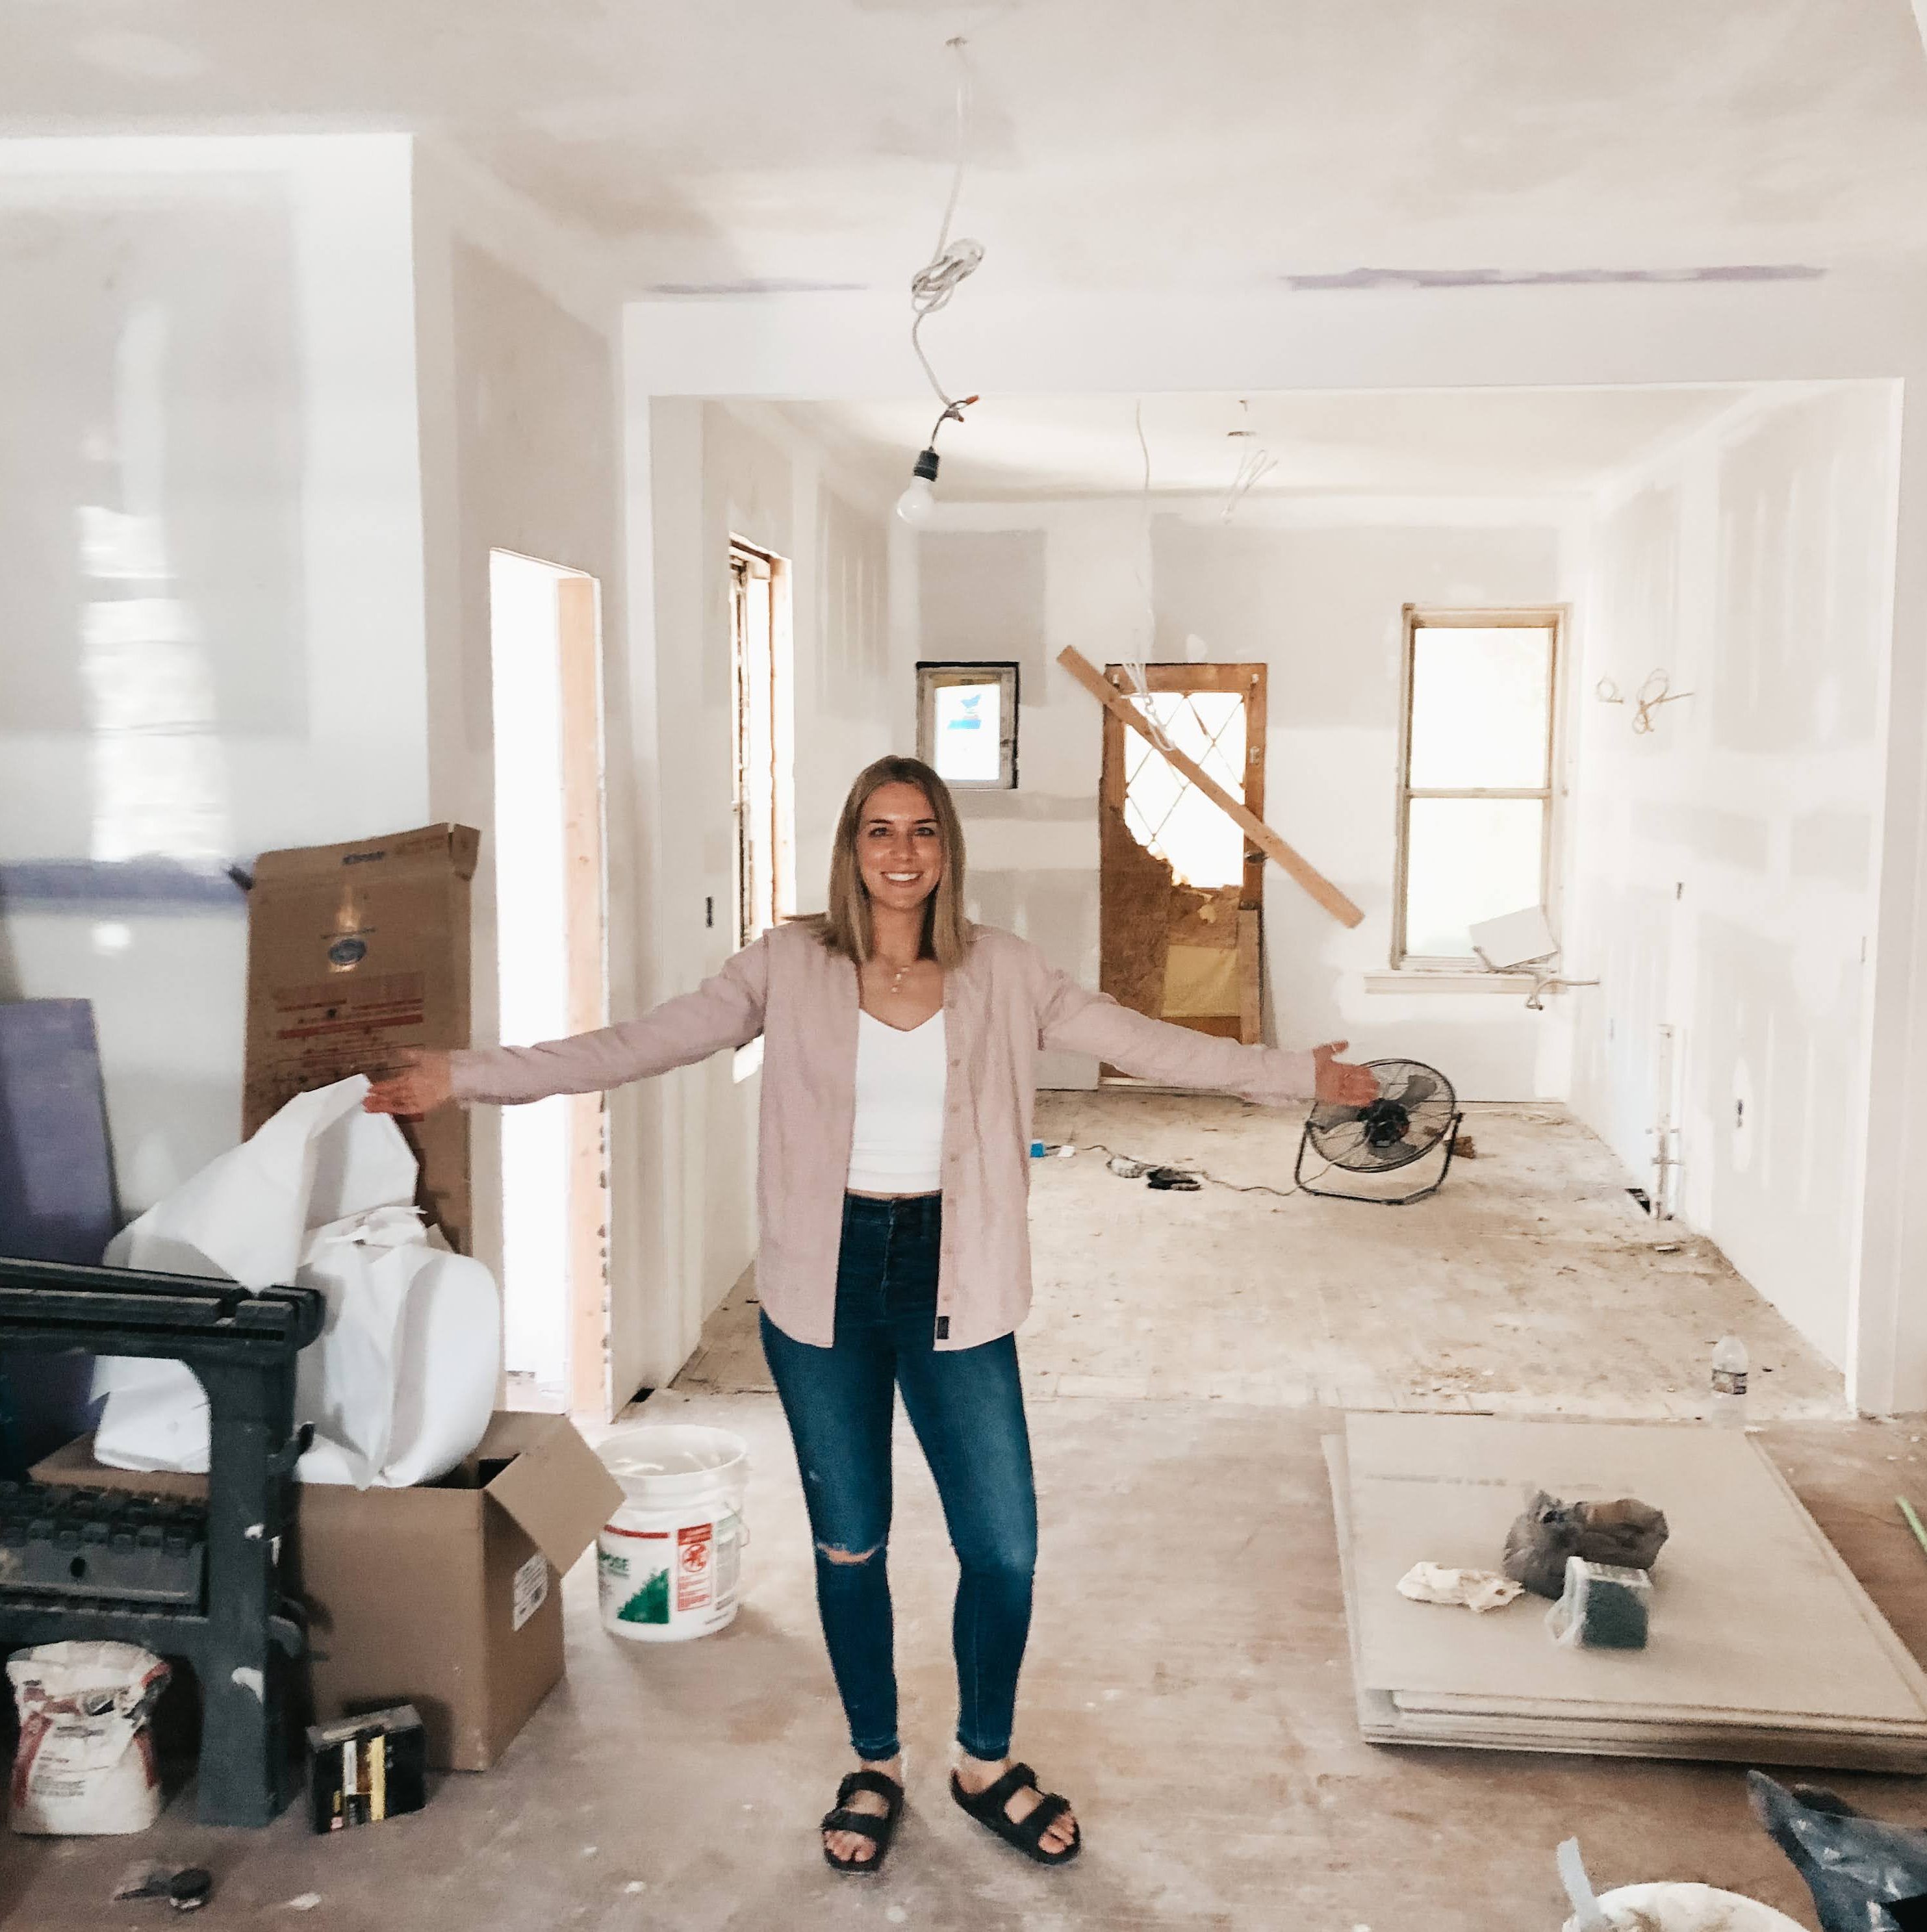
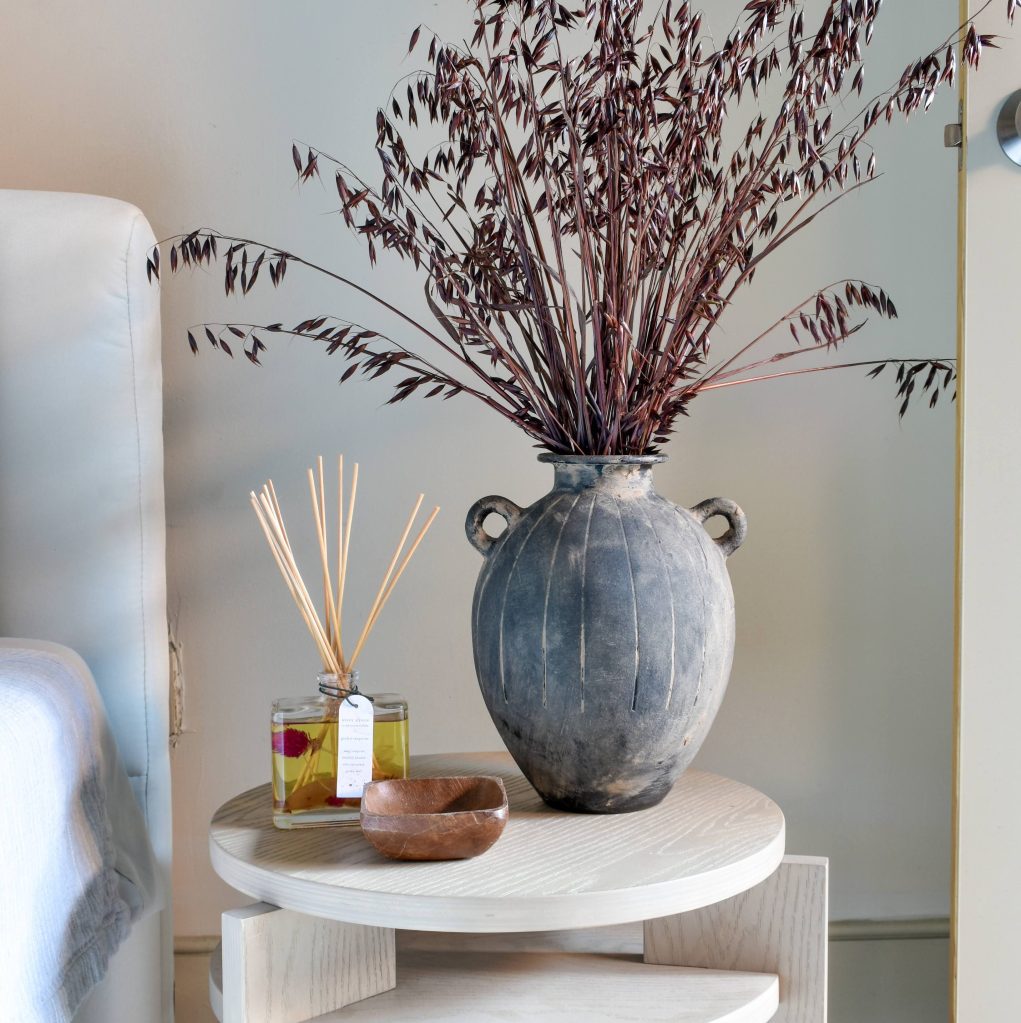
When I first bought the house it was filled with the previous owners belongings. I kept a handful of those items both because I loved them to much to part with and because I thought it would be a nice touch when staging the property for sale. These shelves are a perfect spot for them.
I knew I wanted thick shelves with hidden brackets since the kitchen is pretty modern looking. I found a few off the shelf products you could buy, but I couldn’t find the length I wanted and custom shelves started getting pricey. I looked at a few tutorials online and decided to build my own using these brackets from Amazon.

First I used painters tape to mock up where I wanted the shelves both height from the cabinet and length of the shelves. Take a step back and look at the mock up from different angles to see how it looks. Also take the time to pretend your reaching for things on the shelf to make sure it’s a comfortable height. The point is for these shelves to be pretty and functional, so making items easy to reach helps the latter.


To make sure these are really heavy duty mount the brackets directly to the studs. I had to remove a couple tiles to make the bottom shelf work. After you’ve mounted the brackets you can fill in the holes (I used plaster) so you can mount the tiles to a flat surface.

Place the shelves on the brackets and mark where the brackets fall on the shelves. Draw the line down the face of the shelf to mark where you need to drill a hole. Since my shelves are two pieces of wood glued together, I already had the center of the boards but depending on what the thickness of your wood is make sure you mark the center. You’ll need to drill a hole straight through the edge. This is where you’ll slide the brackets on.


Finish your shelves however you’d like. I used a preconditioner, dark walnut gel stain, and then three coats of polyurethane to seal it.

Push your finished shelves onto the bracket and you are done! I love how these look against the clean subway tile backsplash.

This post contains affiliate links. If you purchase an item through a link I may receive a small commission.