We aren’t quite done yet, but wow—what a transformation so far! Dare I say we might even finish this year? Shocking, I know. 😅
A couple of months ago, my dad came to visit and helped us finally tackle the marble shower. It was definitely a daunting task—our walls weren’t perfectly plumb or flat, so we had to adjust the mortar thickness as we went. Nothing a 4′ level and a lot of patience couldn’t fix. Big, stubborn projects like this? Perfect for Dad to swoop in and save the day.
We got all of our marble tile from Floor and Decor. One thing I love about Floor & Decor is that you can buy tile by the piece. Earlier this year we had carefully laid out our tiles for each wall to create a gradient from dark at the bottom to light at the top. When we inevitable ran out of tile (we were only a couple short), it was easy enough to buy a few without committing to an entire box and pick the exact tiles to match the pattern.
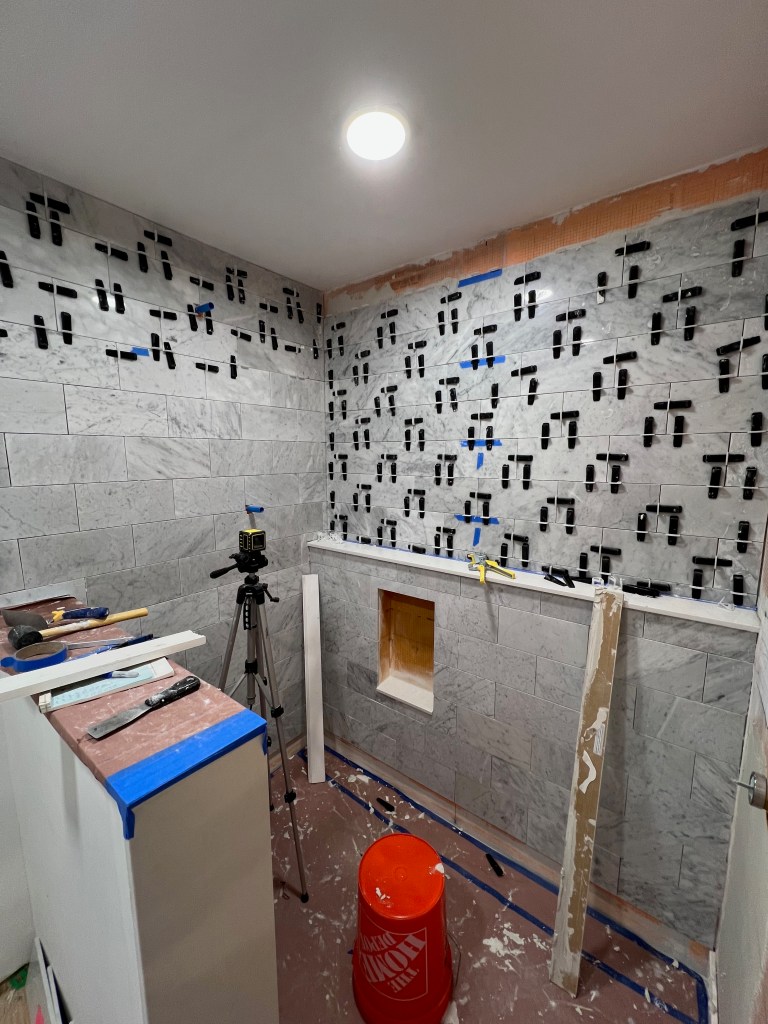
During the tile installation we used self leveling clips from Floor and Decor which helped keep the joints exactly 1/16″ wide and adjacent tiles flush to the surface. A word of caution: don’t let mortar dry within the clips. These clips are designed to snap off easily below the joint once the mortar has set, but if mortar gets stuck on them, they can be tricky to remove—we learned that the hard way! Use a laser level to ensure your joint lines match up.
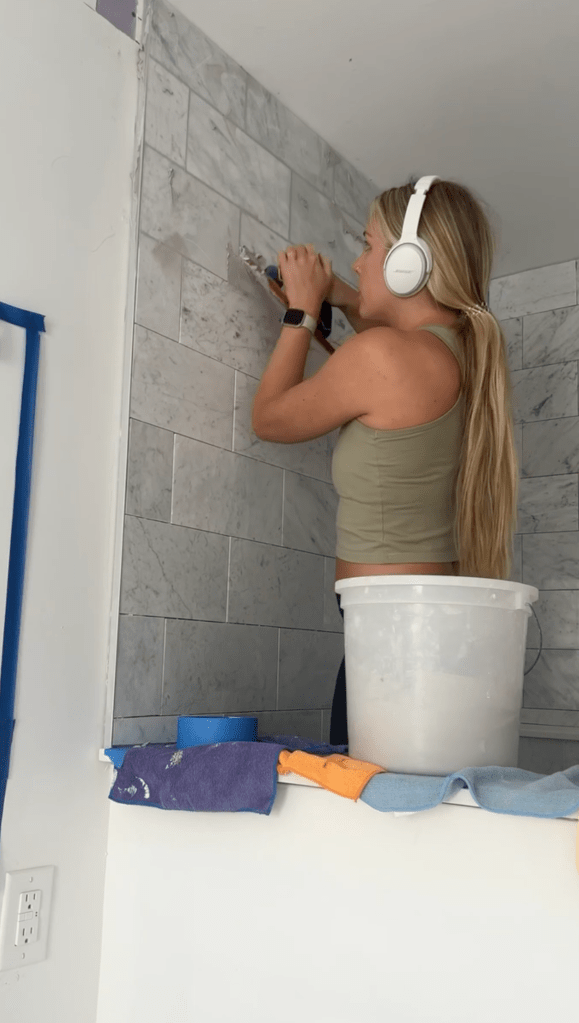
Before grouting, I sealed the tiles with 511 Impregnating Sealer, then sealed again after grouting. You’ll know it works if water beads up on the surface-quite satisfying to watch.
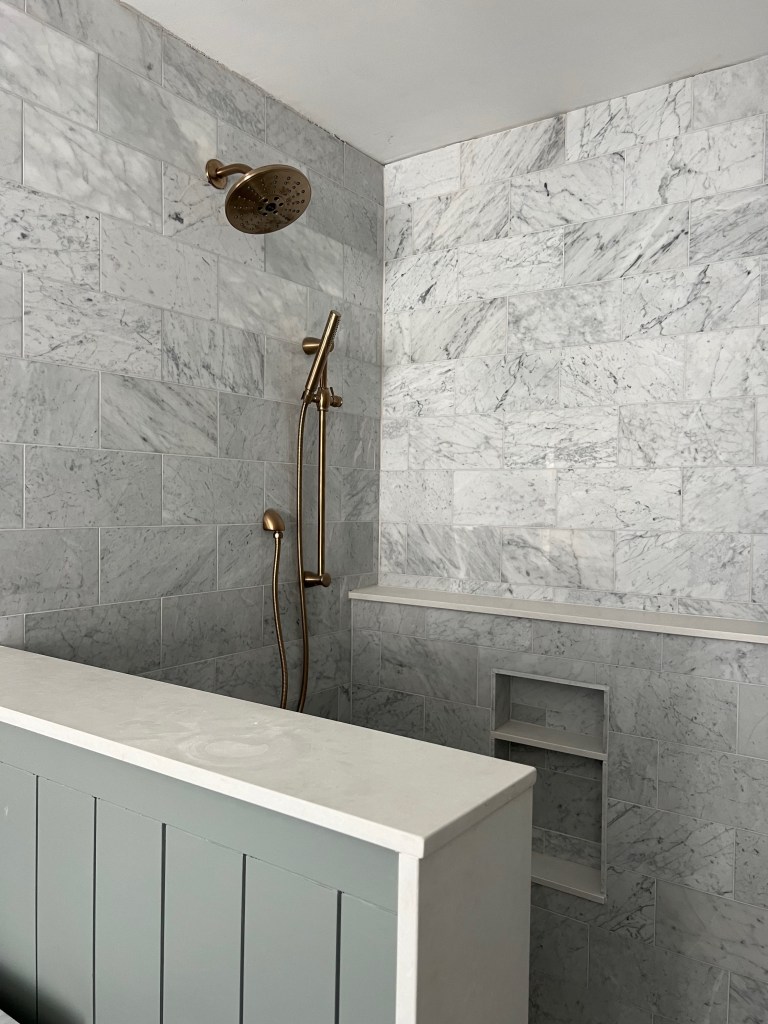
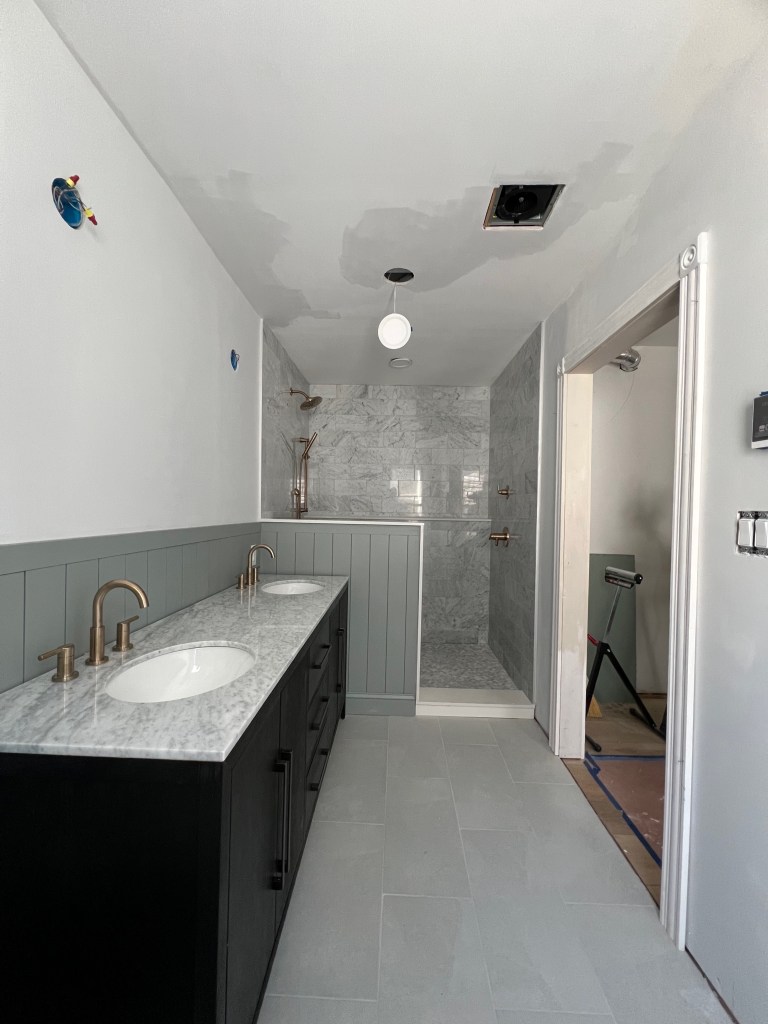
Once fully installed, our Carrera marble truly shined—especially after grouting! We used Mapei’s “Frost” grout which looks beautiful with the varying shades of white and grey within the marble.

In the main bathroom area we installed a Schluter floor heating system. One benefit of living in the house before starting renovations is you’ll know better what you need out of your home. After waking up to walk into cold tile floors we decided this was an upgrade we needed to make. I linked the “system” I used, but be careful when ordering to calculate the size exactly. Notice we don’t put the heating cable beneath the vanity, toilet, or near the edge of the wall. The Schluter online estimators can help you calculate the exact size you need.

We hit a little hiccup with the toilet. I had my heart set on a Kohler Memoirs (yes, I know—it’s weird to love a toilet 😅), but because I decided to install wall paneling, the flange location ended up too close to the wall. We had to go with a 10″ rough-in toilet instead of a 12″, which meant fewer options, but it all worked out.

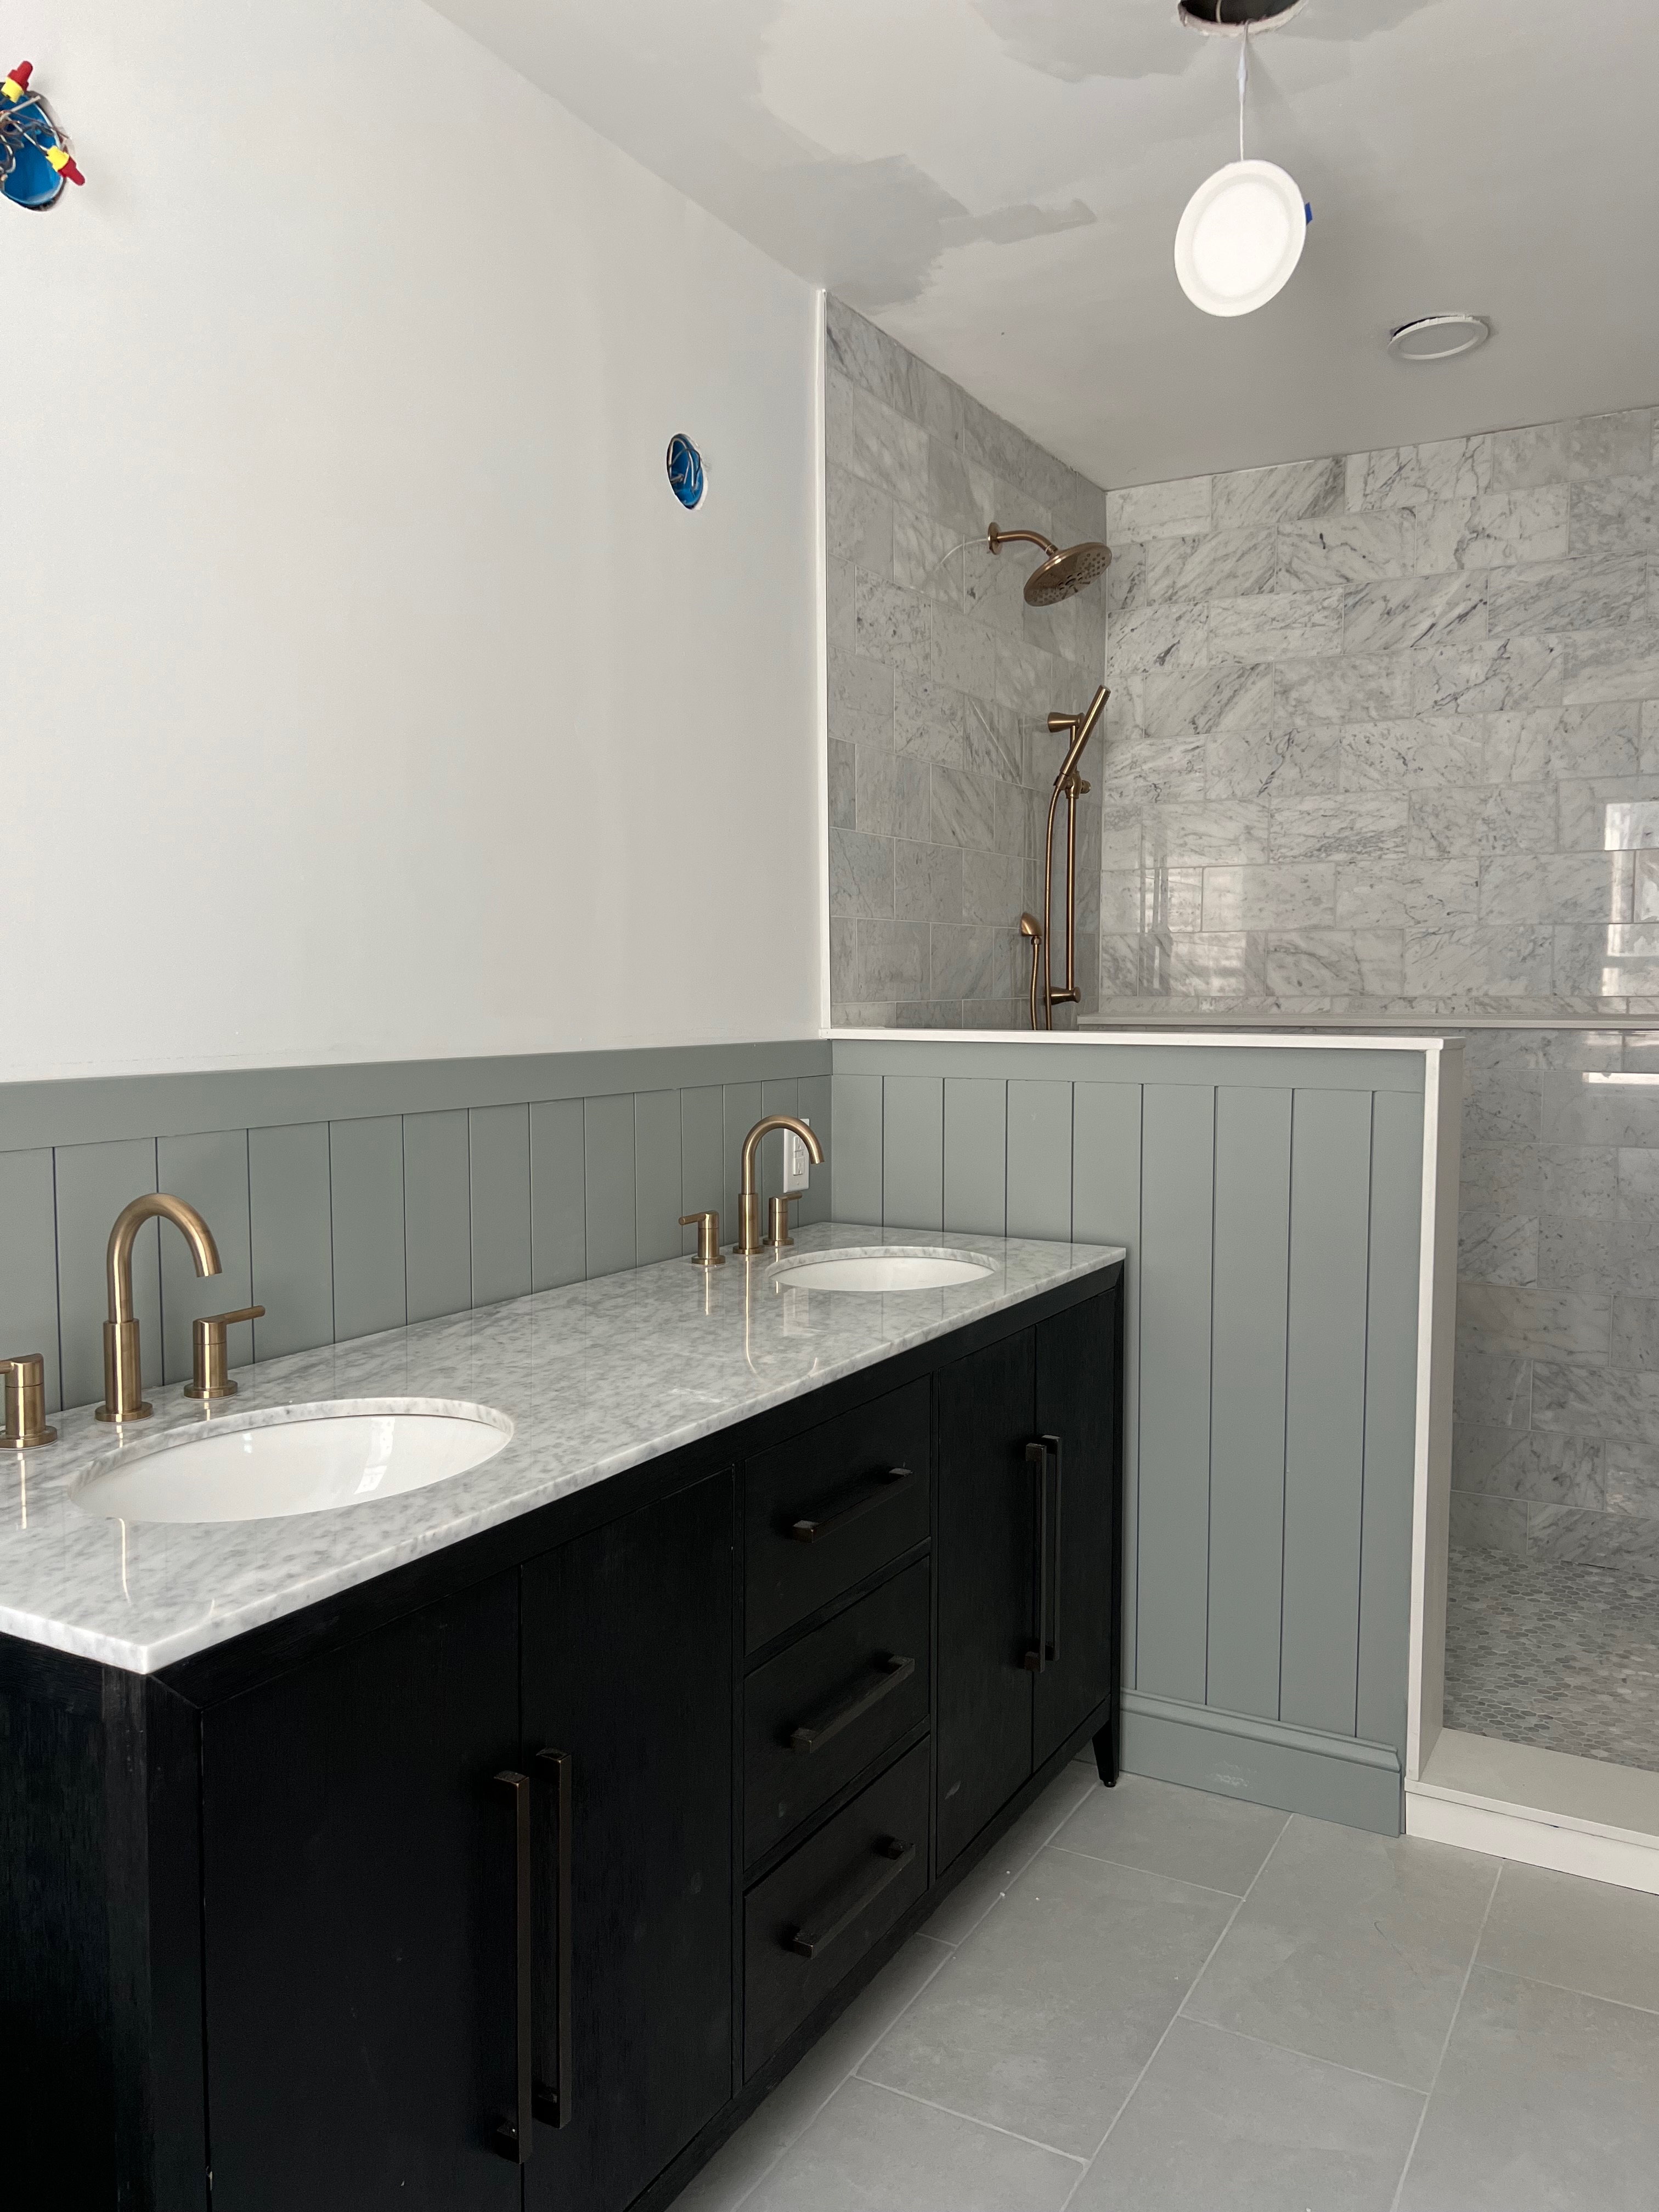
I love the look of the vertical wood shiplap accent wall for a subtle English cottage vibe (less farmhouse). You may remember I used this faux shiplap in our guest room and powder room—I love how it ties the house together. I painted in Sherwin Williams’ Sage Grey, which complements the marble beautifully. I’m debating wallpaper for the rest of the room but leaning toward a clean, color-drenched look in sage grey—the natural light really brings out the green undertones.

Our 72″ bathroom vanity (still obsessed) finally moved from the guest room into the bathroom. It will be so nice for both rooms; the guest room will finally have a little extra breathing room, and our bathroom finally starts to take shape as an actual bathroom. We hired plumbers to finish up the plumbing – if you are in the Philadelphia area and need a good plumber I know a guy! We went with champagne gold faucets by Delta to match the champagne bronze shower system.
I also spent some time doing little tasks like patching drywall, painting, caulking, and adding baseboards. There really are a ton of tiny little projects that have to get done before something is 100% complete. At least we are at the point where it is completely “functional” and that makes my heart sing.
Next up: finish caulking, finish baseboards, paint walls, backsplash for vanity, mirrors, light fixtures, and towel bars/TP holders. We got quotes for the glass to go on top of the pony wall—around $1,000 for a single sheet! We’re saving up until we can hire that project out, but it will definitely be worth it!
We’re inching closer to a dream bathroom, one detail at a time. Can’t wait to share the final reveal!


