
From the moment we set eyes on our home, we envisioned a master bedroom with a captivating fireplace accent wall. However, it wasn’t until we discovered the exquisite Marmorino Piatto™ plaster from Firmolux that our vision truly took shape. The luxurious finish of this product effortlessly creates a spa-like ambiance, requiring minimal effort. I am thrilled to share our journey in achieving this look and guide you through the process.
Materials Needed
- Anchor Primer
- 1 Gallon Firmolux Marmorino Piatto™ – tinted Feather Down by BM
- 1 Gallon Firmolux Marmorino Piatto™ – tinted Alabaster by SW
- Finishing Trowel
- Drywall Knife – I used 4″
- Drywall Primer
- Damp Rag
- Painters Tape
Don’t Skimp on the Prep Work
The first crucial step is ensuring you have a smooth and flat surface to work on. If building a new wall, meticulously tape and mud the drywall seams and corners for a flawless finish. Though time-consuming, this step is indispensable as it facilitates the application process and yields a more professional result.
Once the surface is prepped, seal any bare drywall or joint compound with a high-quality primer. I recommend BIN 123 primer for optimal results.

Create Sample Boards
Before commencing the project on your feature wall, I highly recommend creating a sample test piece on scrap drywall. This allows you to familiarize yourself with the material, its drying time, and coloration. I experimented with two different tints – Feather Down by Benjamin Moore and Alabaster by Sherwin Williams – to achieve a subtle variation in colors. By creating sample boards showcasing each combination, I could assess which complemented the adjacent walls, painted in Alabaster by Sherwin Williams. Opting for the Feather Down color on top provided the perfect contrast.

Apply Primer
Next, prime the surface with Firmolux’s lime-based Anchor Primer. This thick product may require diluting with water for easier application with a roller. I added a small amount of water to achieve the desired consistency, while a regular angled paintbrush proved effective for edges. Once dry, the surface will resemble rough sandpaper.

Apply Plaster
After the anchor primer base has fully dried, apply the first layer of plaster. Familiarize yourself with the right technique by watching the instructional video provided by Firmolux. Feel free to tape off edges to prevent plaster from ending up on your side walls. I found it easily wiped off with a damp rag, so I was careful around the edges and fixed any imperfections afterwards.


Before application, mix the plaster thoroughly using a drill-mounted mixer. The consistency should allow it to stick to the trowel yet be heavy enough to slide off with gravity. Spread the plaster in light coats, working from the edge outwards. This product offers ample work time, allowing you to rework as necessary to ensure a smooth finish.
Once the wall is fully coated, wait until the material sets enough that it doesn’t adhere to your fingers when touched. Use a clean trowel at a slight angle to compress the material, creating a flat surface. Be sure to scrape and wipe off any plaster from your trowel before pressing against the wall. It’s okay if its not all perfectly flat – this is what gives it movement and interest. Smooth out what you can and embrace the subtle differences in texture.
Allow the material to dry completely before applying the second coat. Overnight drying is recommended. Any raised bits or rough edges can be smoothed out with a drywall knife. Also remember – the wet product is much darker than the final result. Take a look at this image mid-drying process.


Final Thoughts
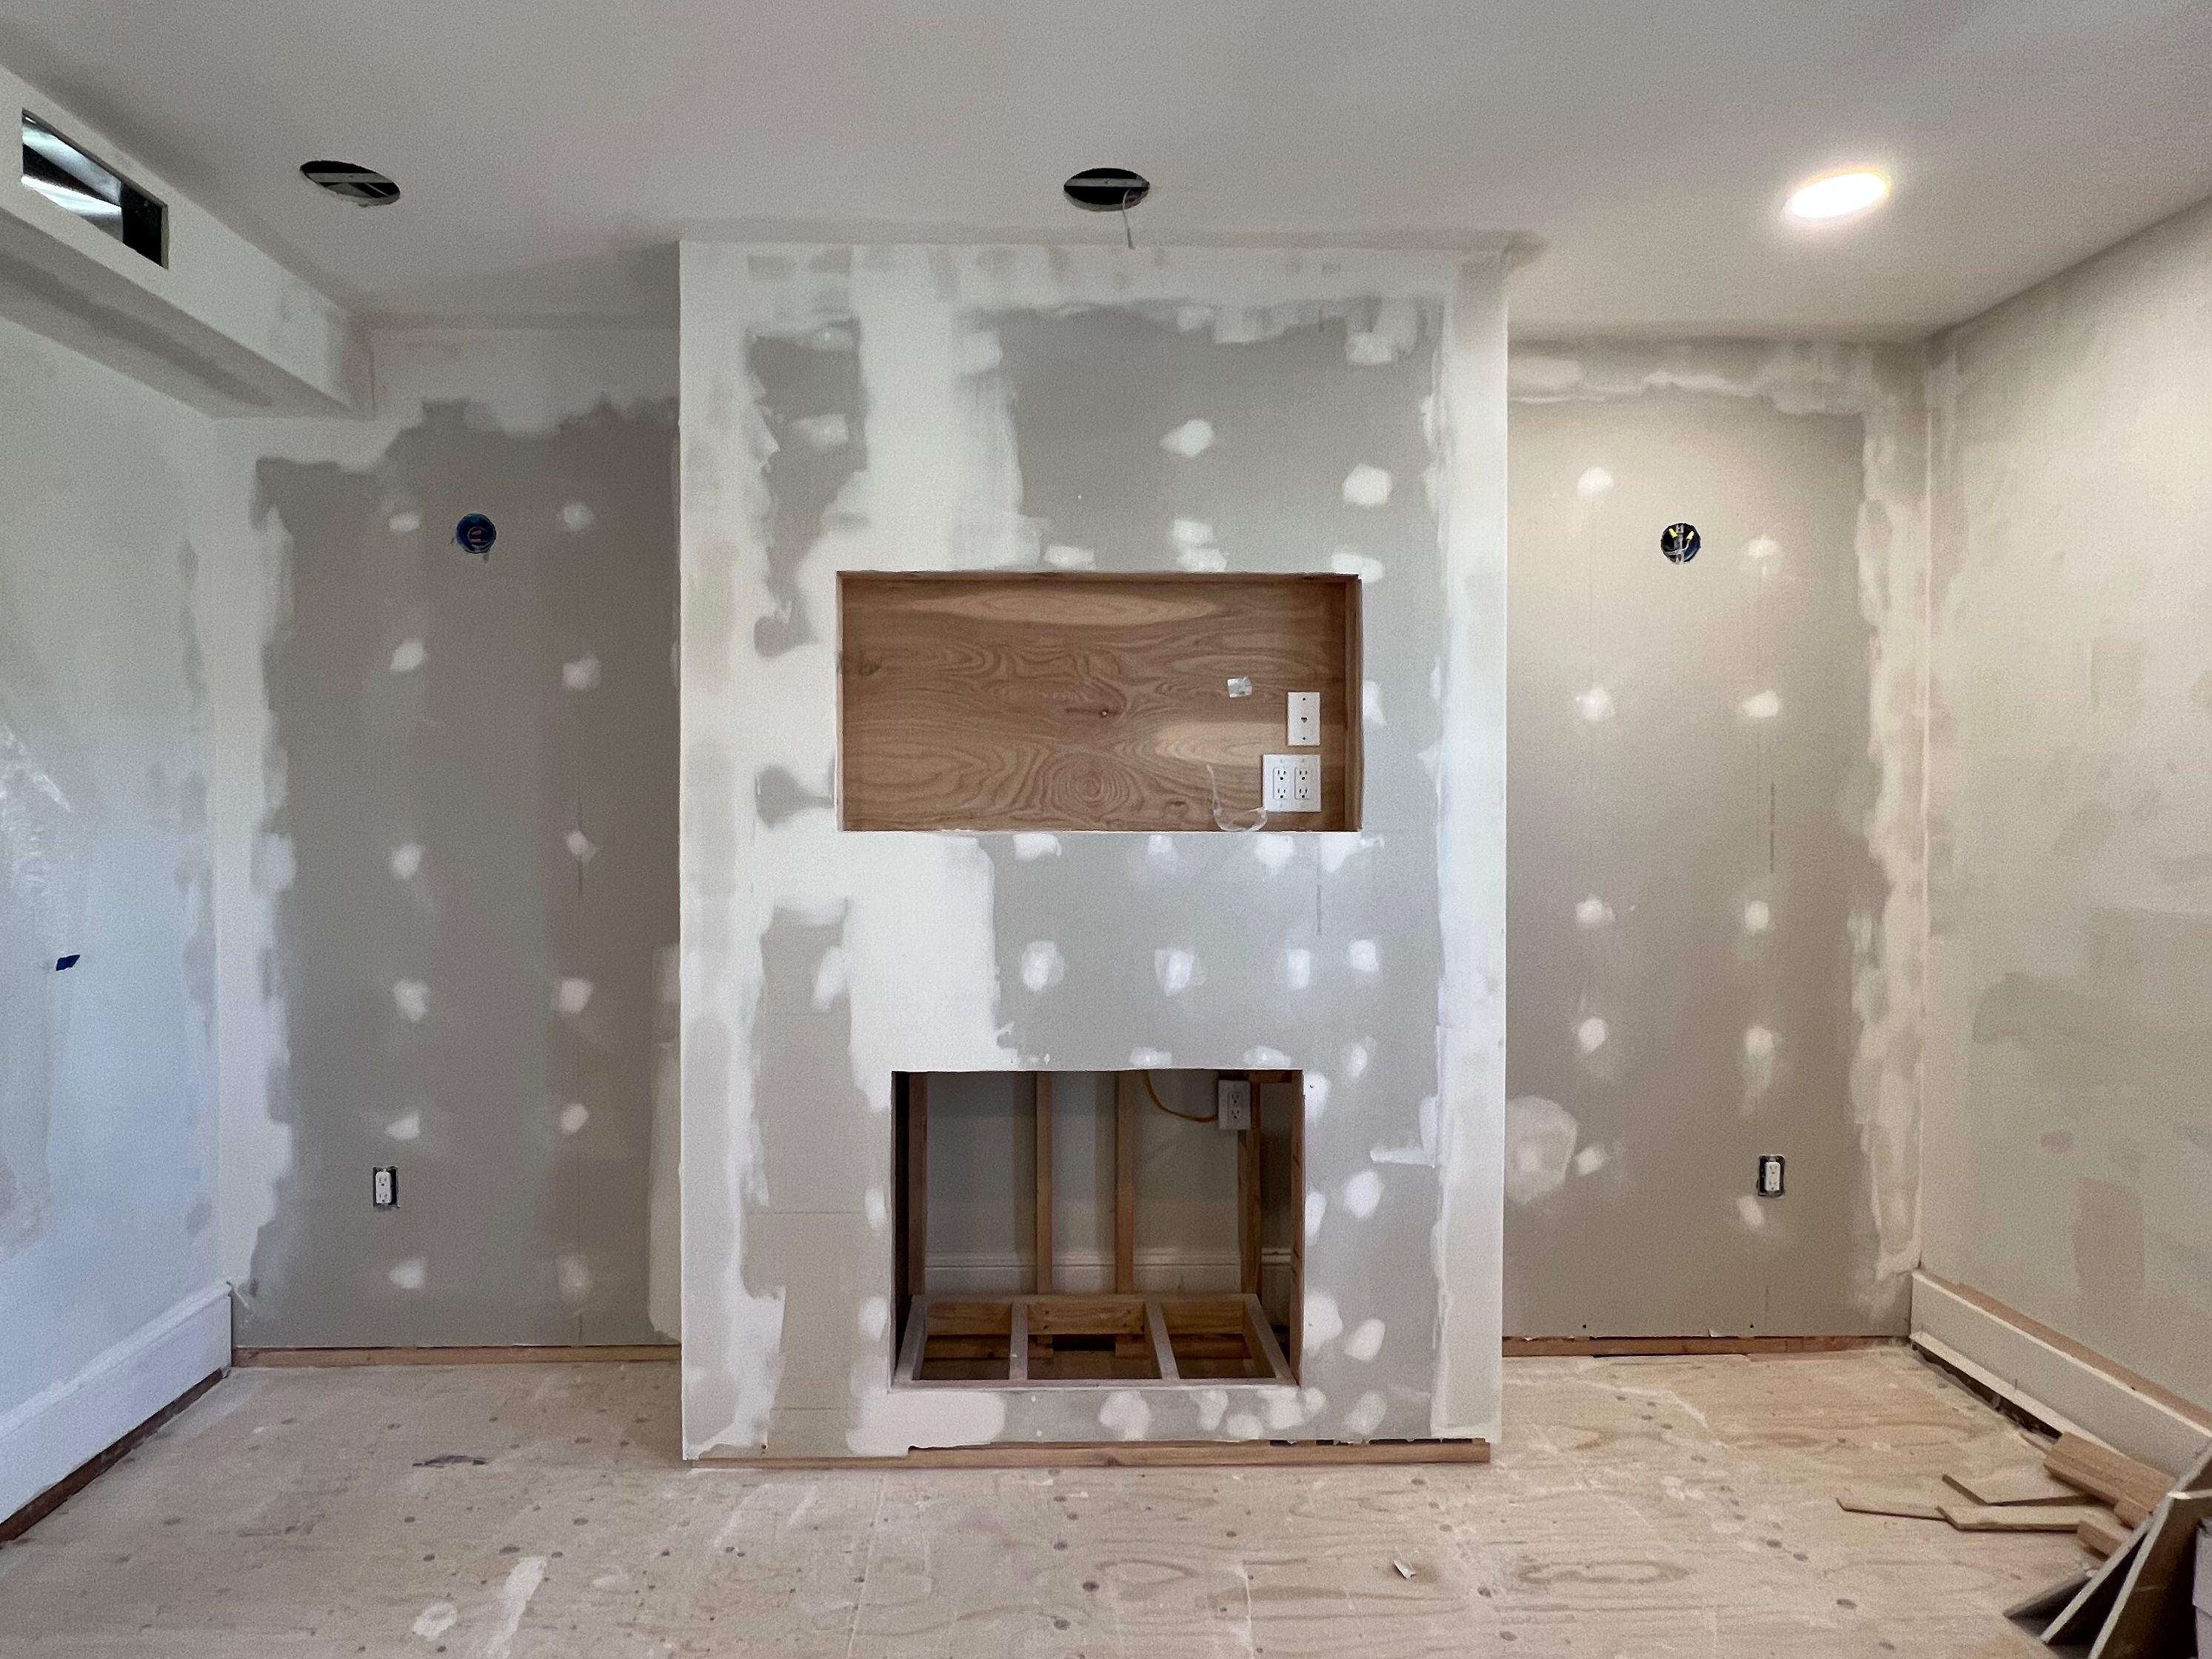
To fully complete this project we’ll be adding baseboards, flooring, installing the TV bracket, and final electrical touches. After completing this step of the process working with Firmolux’s plaster, I’m so motivated to complete these final touches!
I thoroughly enjoyed working with this product – it’s incredibly user-friendly and fosters a sense of artistic accomplishment. I wholeheartedly recommend it to anyone aiming to achieve a luxurious spa-like ambiance, especially around a fireplace.


