I wanted to give a good breakdown of my anticipated costs and the overall costs of the “rental” rehab. My overall budget was $25,000 and my all in cost was $25,242.91. I’d count that as a win in what was an overall fluke of a project. If you haven’t read about it you can find more detail in my “Rental” page here.
This house was a 1190 SF 3 bed, 2 bath which did not include a finished basement and garage. One of the big draws to me was the size, the garage, and the beautiful neighborhood.

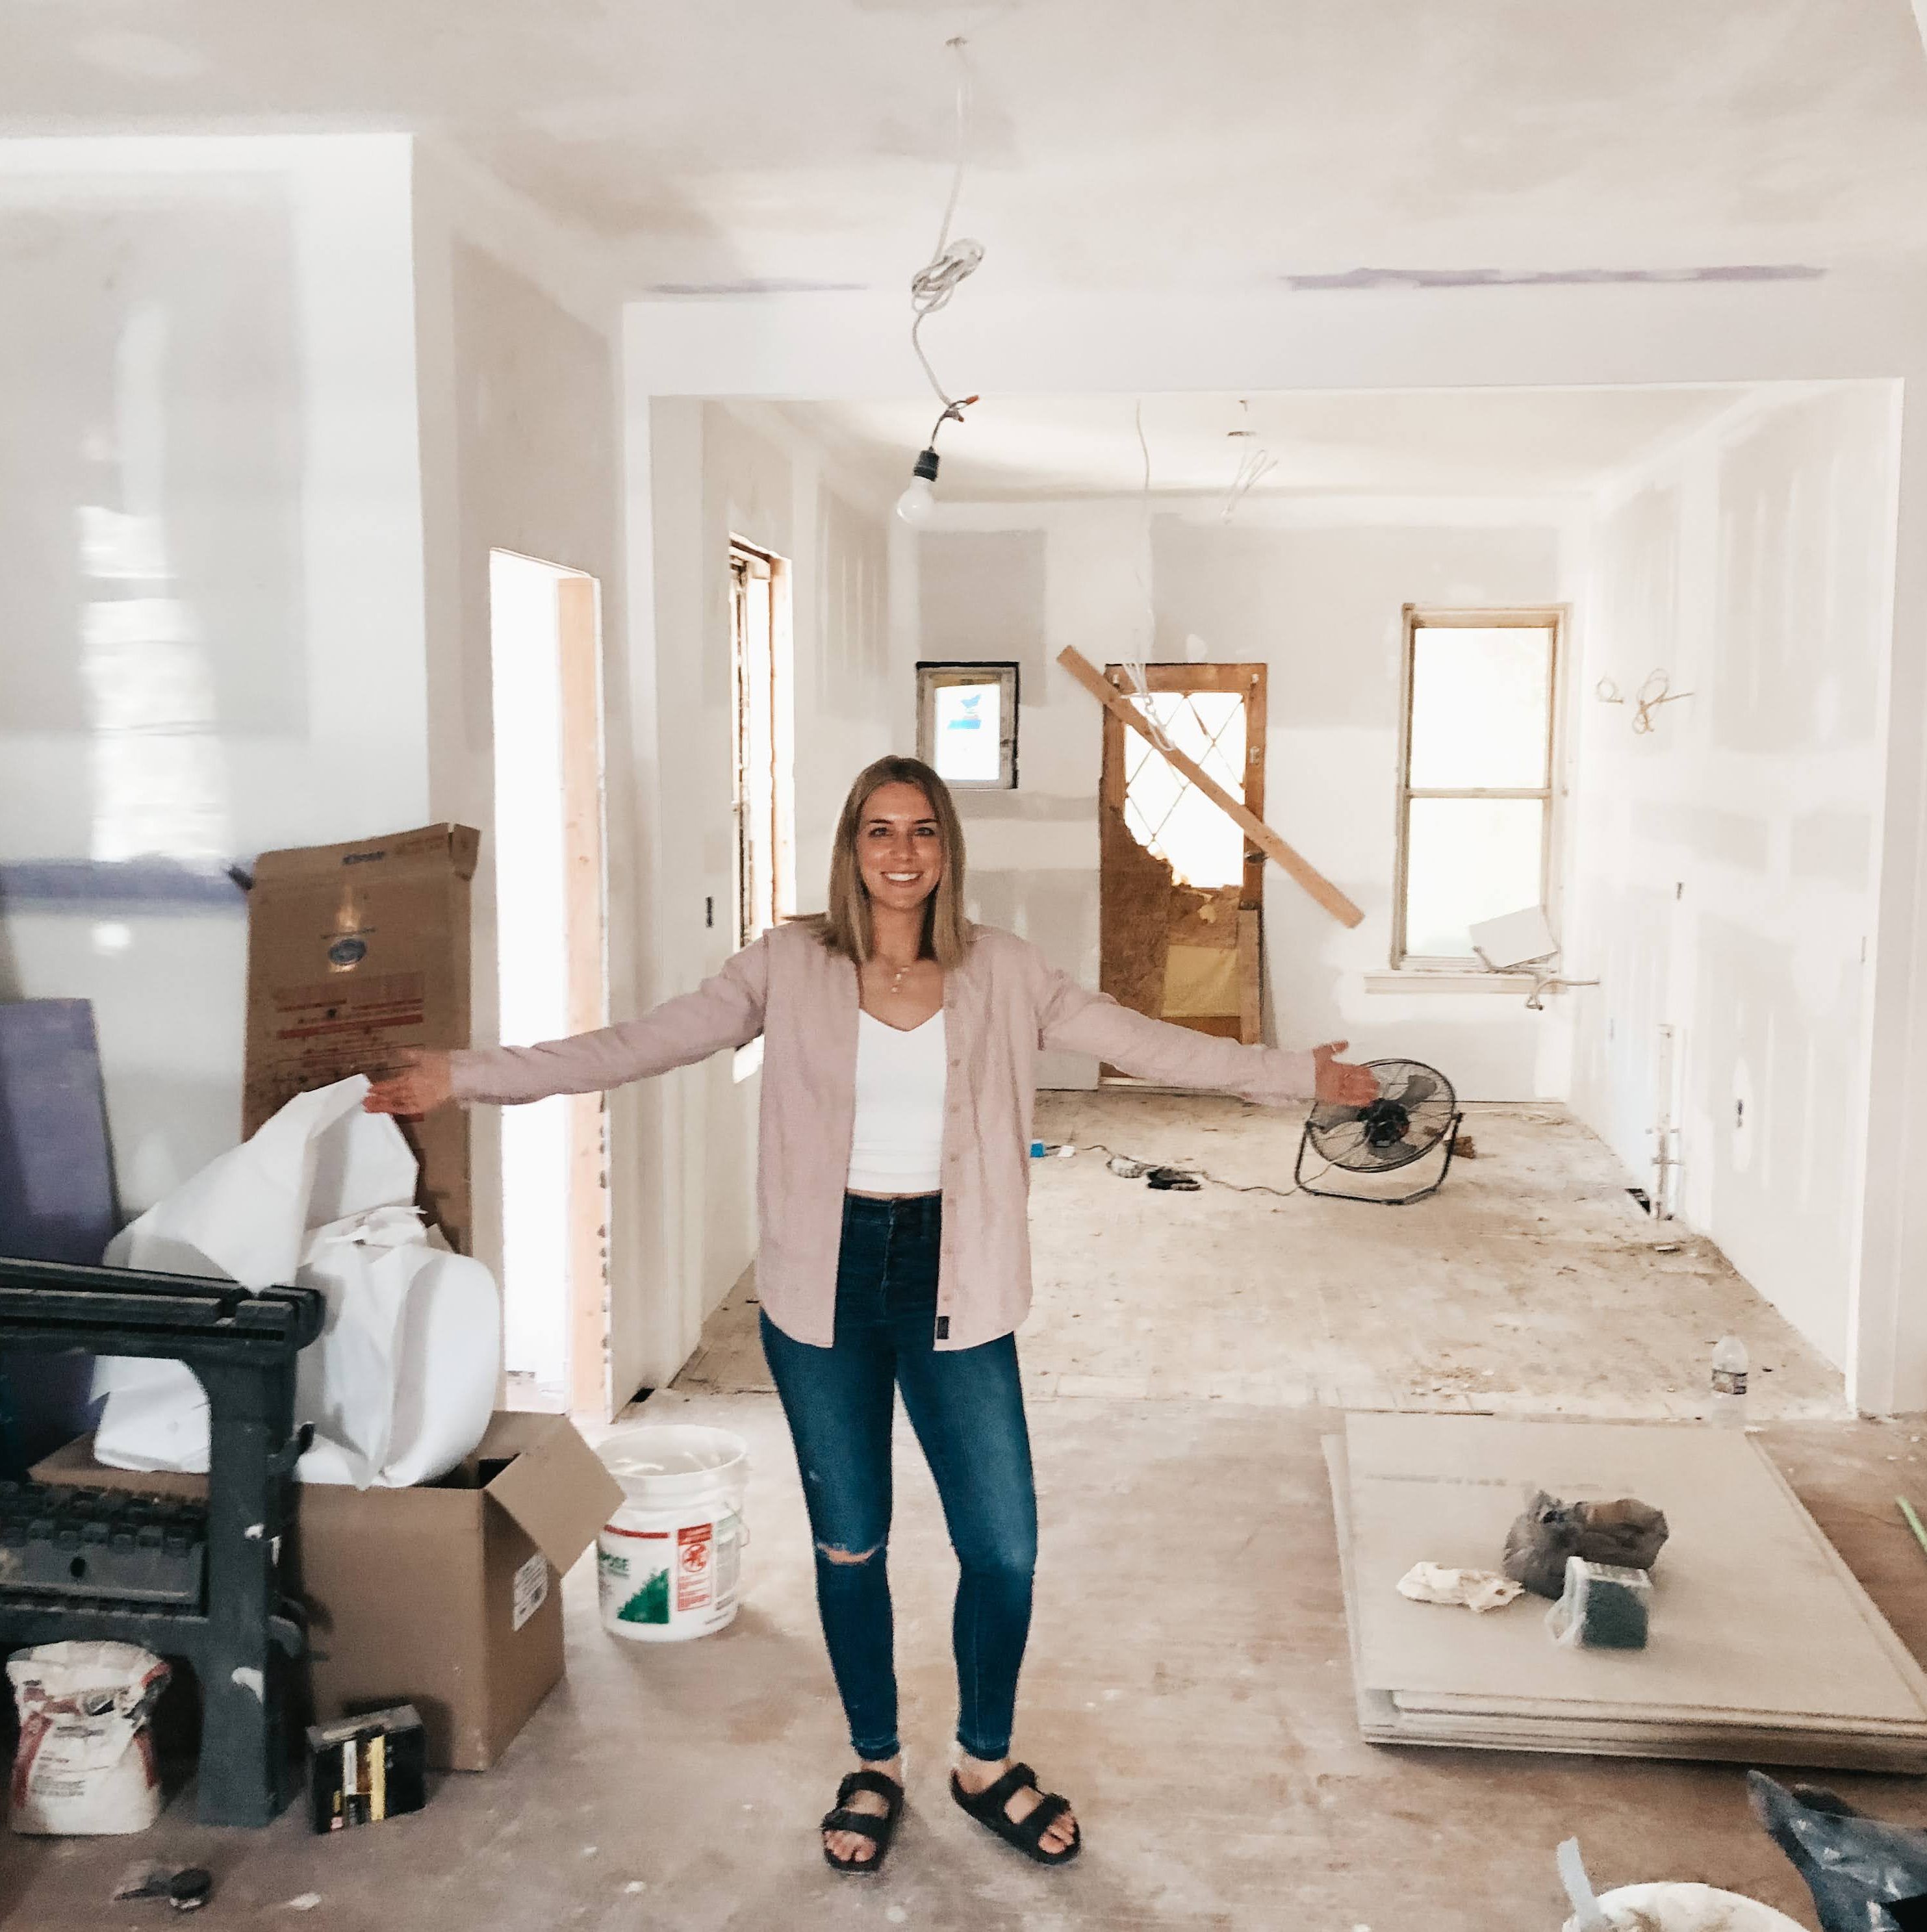
The first floor showed SO much POTENTIAL and character!! It had this big beautiful sun porch with a cute little doorway with windows. I love when I find old woodwork detail in these houses and try to keep that in tact as much as possible. I also fell in love with the floors. The house had original hardwood hiding underneath a carpet and in some rooms I could see a really cool inlay. Unfortunately when I removed all the carpeting there were too many sections of the floor that were patched in with plywood, stained and really unsalvageable. It was not worth me trying to repair them when I was using it as a rental, so I *sigh* covered it with Luxury Vinyl Tile (LVT).


The most drastic changes came from just cleaning the house up, painting everything neutral colors but adding a pop of color in the kitchen. It was a risk, but it ended up being totally worth it! I used Westminster Green chalk paint by General Finishes and swapped out the old door handles for these brushed brass ones.

The second floor had a great layout with 3 really good size bedrooms. All the bedrooms had carpets over them hiding some floor stains that could not be salvaged. We cleaned up the rooms by repainting, getting rid of all shelving, blinds, holes in the walls, and extra phone line cables. We put the same Pacific Pine Traffic Master Allure Luxury Vinyl Tile in the bedrooms and then carpeting on the hallways.


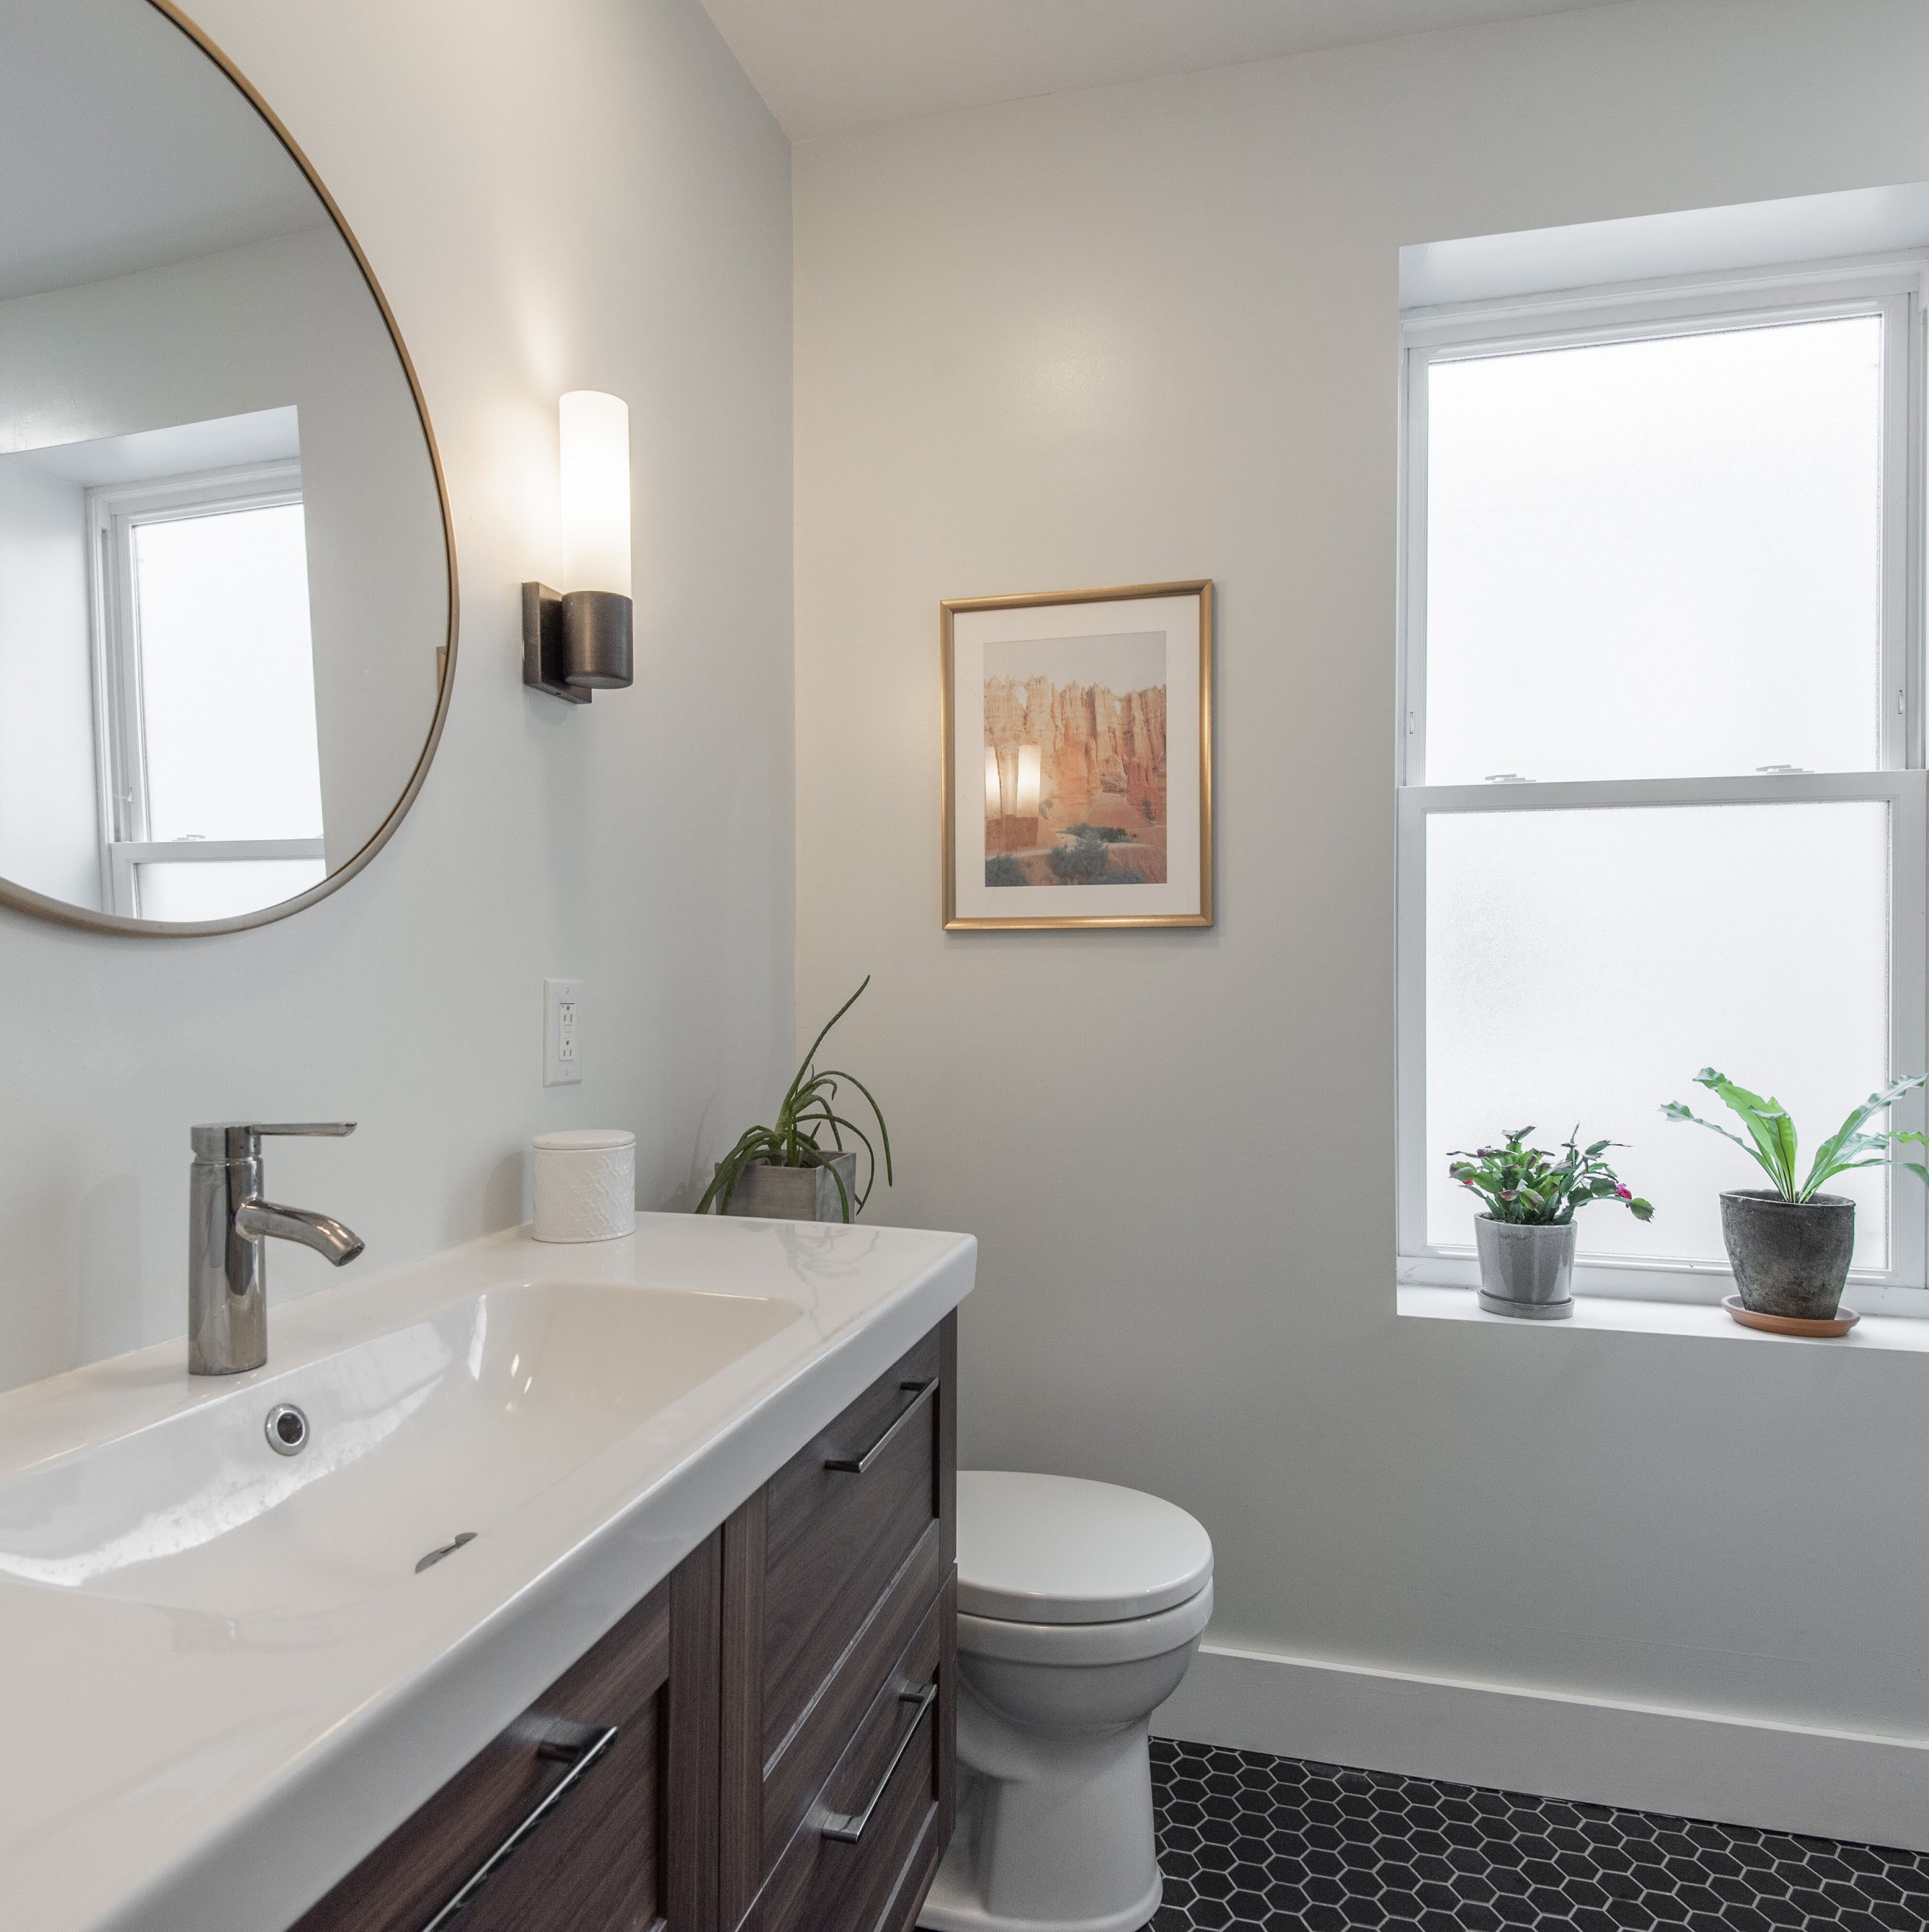
We didn’t have too much to do in the basement. It was already mostly finishes, but needed a big refresh. The biggest change was in the bathroom. We replaced the vanity for an Ikea vanity, painted, replaced the mirror and light fixtures, and also replaced the flooring with a stick on vinyl tile floor.
One of the hiccups in the home inspection was a sink in the garage did not drain properly. The buyers were using an FHA loan to purchase the house, so it had to be fixed. Instead of fixing it we removed the sink from the garage. This cost us less than $1,000 which definitely hurt my overall budget.


The below estimates are my original assumptions completely derived from the home inspection I got when purchasing the property.
| ITEM | COST | |
|---|---|---|
| Property and Site | $2,500.00 | |
| Exterior | $625.00 | |
| Roof Structure | $2,515.00 | |
| Basement/Structure | $4,405.00 | |
| Electrical System | $4,225.00 | |
| Boiler | $4,000.00 | |
| Plumbing System | $4,775.00 | |
| Bathrooms | $900.00 | |
| Interior Living Spaces | $2,650.00 | |
| 20% Contingency | $5,319.00 | |
| TOTAL | $31,914.00 |
Some of these assumptions included things like “recommend getting a scope to make sure cast iron pipes were not cracked – $4,000” and “check basement ceiling for asbestos – $1,000”. Neither one of these became an issue when it came to construction so I’ve taken them out of my estimate.
I meticulously documented every cent that was spent throughout the process.. including those little $14 runs to Home Depot or $33 orders from Amazon for new paint rollers. This project is the first time I’ve had to be truly in control of my money and how it was being spent, so I wanted to have the best understanding of it as possible. This meant keeping track of receipts, invoices, purchases as well as transfers from my HELOC, interest payments, mortgage payments and utility payments. Below is all my “hard costs”.
| ITEM | Cost | |
|---|---|---|
| Roof | $2,159.00 | |
| Interior work: Flooring, Tile, Plumbing, ect | $14,317.94 | |
| Kitchen | $3,050.13 | |
| Basement Bathroom | $1,292.43 | |
| Electric | $2,150.00 | |
| Paint | $452.31 | |
| Misc | $1,033.53 | |
| TOTAL | $24,455.34 |
I tried saving as much money as I could by doing some things myself. I painted the house with the help of my parents and boyfriend, I painted the kitchen cabinets by myself, replaced the microwave, and replaced door hardware.
Ultimately all these little tasks ended up being very time consuming and I would rather just budget it in from the beginning rather than spend so much time doing it after work in the evening or during my weekends.
I am definitely not proud of the outcome of this deal. I poured hours of my precious nights and weekends renovating this thing. I’m so happy with how it turned out aesthetically, but in real estate investing that’s only half the battle. It needs to function, appeal to buyers and make you money! I failed at that last part. I learned so much coming out of this and urge anyone looking for a deal to flip to have patience and listen to your mentors!! Sharing my numbers below so I may be able to help more people in the future. Make your money on the buy side, because there’s very little you can do in the renovation or sale side to make it up.
PROPERTY SALE
| Item | cost | |
|---|---|---|
| Purchase Price | $107,000 | |
| Closing Costs (Buy Side) | $10,000 | |
| Renovation Costs | $25,000 | |
| Soft Costs | $7,000 | |
| Closing Costs (Sale Side) | 10,000 | |
| Sale Price | $160,000 | |